Fresh salsa goes bad fast if not stored the right way. Tomatoes, onions, and peppers break down, leading to mold and bad smells. Throwing it out wastes food, time, and money. Instead of letting it spoil, use simple steps to keep it fresh for months.
Proper storage stops bacteria and keeps salsa tasting the same as the day it was made. No complicated methods or expensive tools are needed. Let’s find out how to keep your salsa fresh and delicious for months.
1. Choose Fresh Ingredients
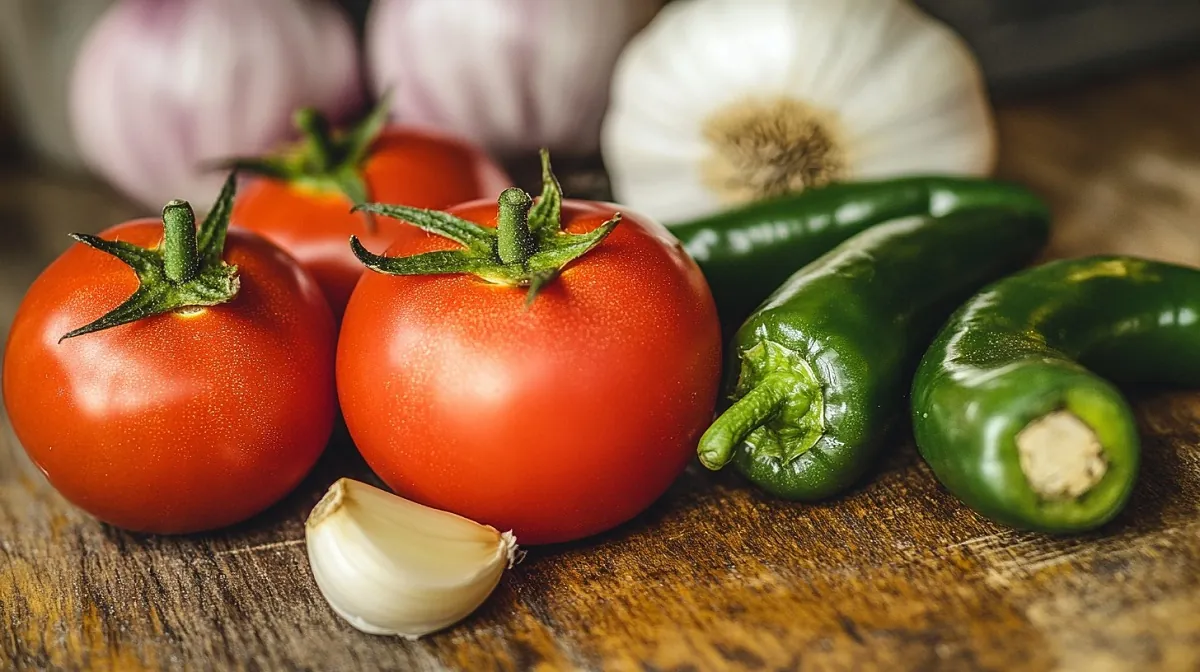
The quality of your salsa depends heavily on the ingredients you select. Fresh, high-quality produce will ensure that your salsa remains flavorful and lasts longer. Here’s how to make the best choices:
Select Ripe and Firm Tomatoes
Look for tomatoes that are ripe but still firm to the touch. Overripe tomatoes are more likely to spoil quickly, while under-ripe ones will not have the depth of flavor needed for great salsa.
Tomatoes like Roma or plum tomatoes are ideal for salsa due to their meatier texture and lower moisture content. These types of tomatoes will yield a thicker salsa that holds up better when stored.
Pick Crisp and Firm Peppers
Choose fresh peppers with no soft spots or blemishes. The type of pepper you use will depend on your spice preference, but always aim for peppers that are firm and crisp. Bell peppers, jalapeños, and serranos are common choices.
If you’re going for a spicier version, make sure the peppers are vibrant in color and free from wrinkles or softness, which indicate age.
Fresh Onions and Garlic for Flavor
Onions should be firm, with no signs of sprouting or softness. Yellow onions are the most commonly used in salsa, but red onions can provide a milder, sweeter flavor if preferred.
Fresh garlic will bring a strong, rich taste—avoid using garlic that’s been stored for too long, as older garlic can have a more bitter flavor that detracts from the overall profile.
Washing and Preparation
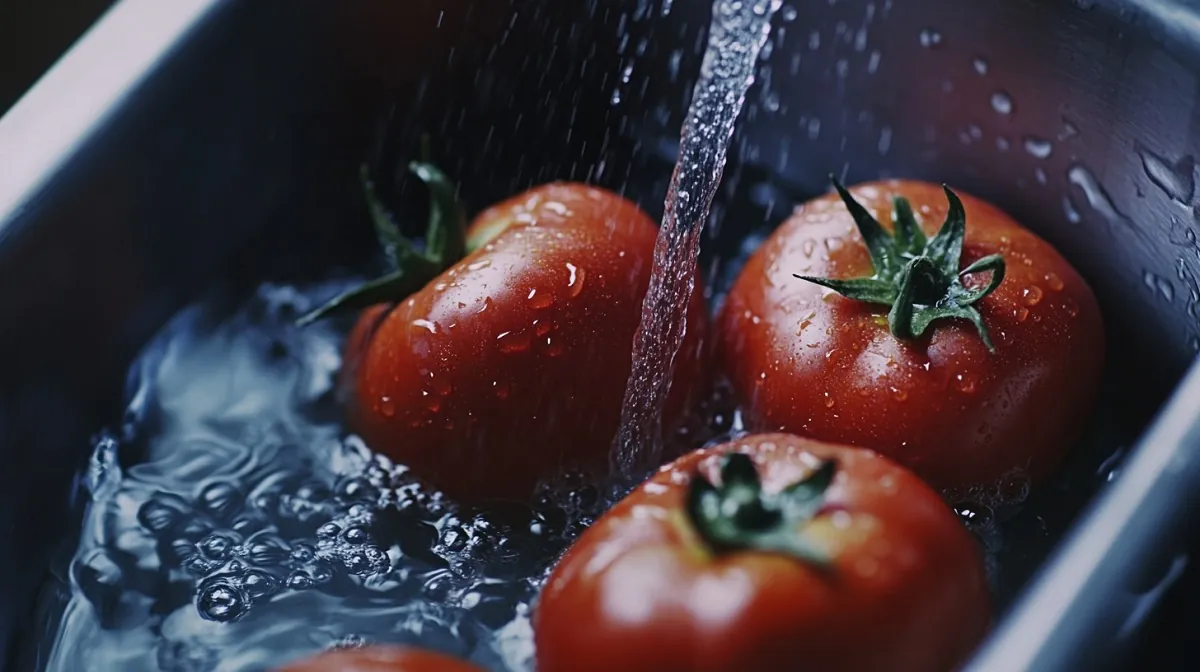
After selecting your ingredients, give everything a good wash to remove dirt, pesticides, and other residues. Even if you’re using organic produce, it’s important to wash all vegetables thoroughly before chopping.
When chopping, be sure to remove any stems, seeds, or tough membranes to ensure that your salsa has the best consistency.
2. Prepare the Mixture
Once the ingredients are ready, it’s time to prepare your mixture. This step involves chopping, mixing, and ensuring the right balance of flavors. Here’s how to make sure your salsa comes together perfectly:
Chop Ingredients to Desired Size
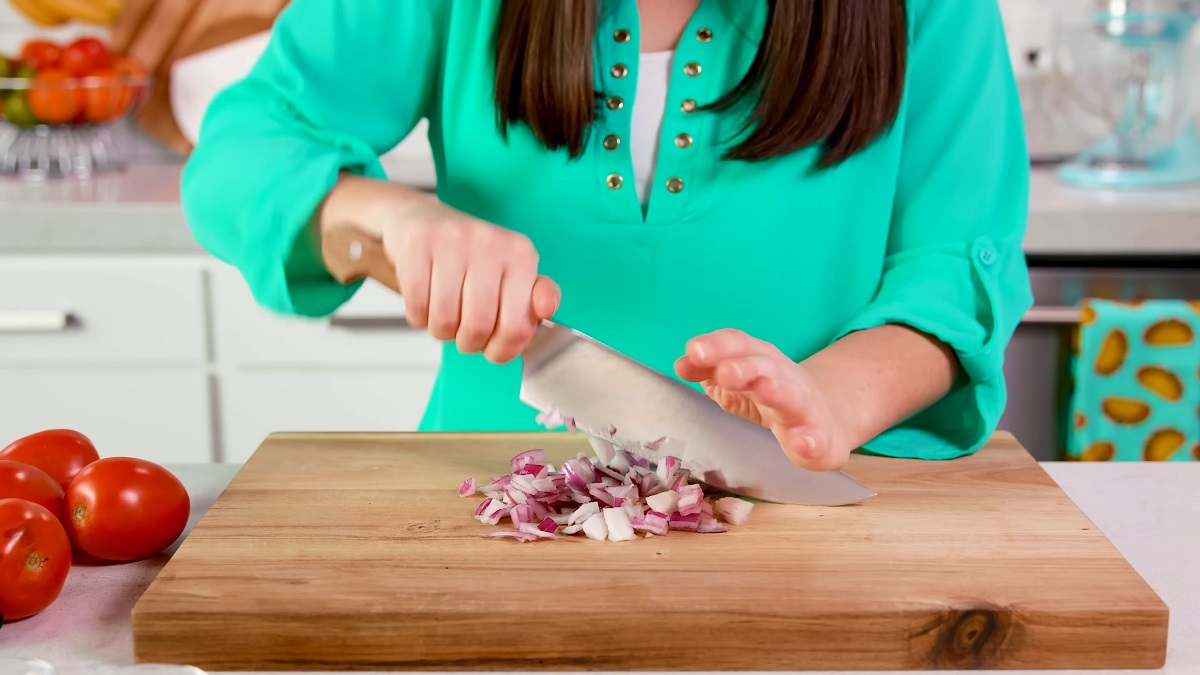
Start by chopping your tomatoes, peppers, onions, and garlic into the desired size. The size of your cuts will determine the texture. If you prefer chunky salsa, leave the pieces larger; if you like it smoother, chop everything into finer pieces.
Be consistent in your chopping to ensure that all the ingredients cook evenly.
Add Vinegar to Balance Acidity
Vinegar is essential for both flavor and food safety. It helps maintain the proper acidity level needed to prevent spoilage. Common choices include white vinegar or apple cider vinegar.
If you’re looking for more ways to reduce acidity in tomato-based sauces, you can check out different techniques.
A typical salsa recipe calls for about ¼ to ½ cup of vinegar for every batch, but make sure to follow your recipe’s recommended amounts. Too much vinegar can overpower the flavor, so be careful with the balance.
Season to Taste

After adding your vinegar, season it with salt and pepper. Additional seasonings such as cilantro, lime juice, or a pinch of sugar can also enhance the flavor. It’s important to taste the mixture as you go, adjusting the seasoning to suit your preference.
Don’t forget to add some heat if desired, either through fresh chili peppers or hot sauce, depending on how spicy you like your salsa.
Simmer the Mixture
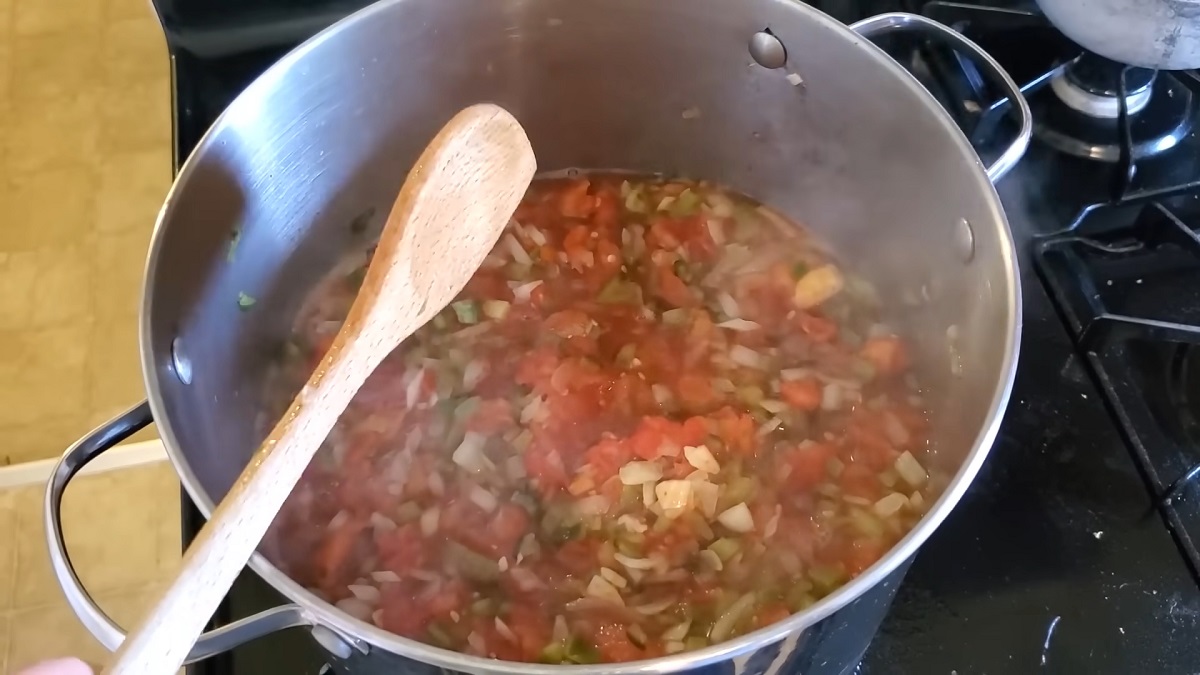
Once everything is combined, bring the mixture to a simmer over medium heat. Simmering helps bring out the flavors and allows the ingredients to meld together. Stir the salsa frequently to ensure that it does not burn at the bottom of the pot.
Let it simmer for about 10 minutes, or longer if you want a thicker consistency. Keep an eye on it to prevent it from boiling too much or drying out.
3. Sterilize Jars
Proper jar sterilization is a critical step in ensuring your salsa stays fresh and safe to eat for months. The goal is to kill any bacteria, yeast, or mold that could potentially spoil your salsa while in storage. Here’s how to make sure your jars are properly sterilized:
Boil Jars and Lids
Start by cleaning your jars and lids with hot, soapy water. After rinsing, place the jars in a large pot filled with water. Bring the water to a boil and allow the jars to sterilize for about 10 minutes. Make sure the jars are fully submerged in the water.
You can also sterilize the lids by placing them in the pot with the jars during the boiling process. This will ensure that the seals are free of bacteria and will help create a tight seal when closing the jars.
Keep Jars Hot Until Ready to Fill
Once sterilized, remove the jars and lids from the boiling water using tongs and place them on a clean, dry towel. It’s important to keep the jars warm until you’re ready to fill them with salsa.
Cold jars can cause the salsa to cool too quickly, which could affect the sealing process. Keep the lids in hot water to prevent them from cooling off and losing their ability to form a tight seal.
4. Fill Jars with Salsa
Filling your jars properly is essential for maintaining the freshness and preventing spoilage. The goal is to ensure the salsa is sealed correctly and no air is trapped inside, which can lead to bacterial growth. Follow these steps for an effective jar-filling process:
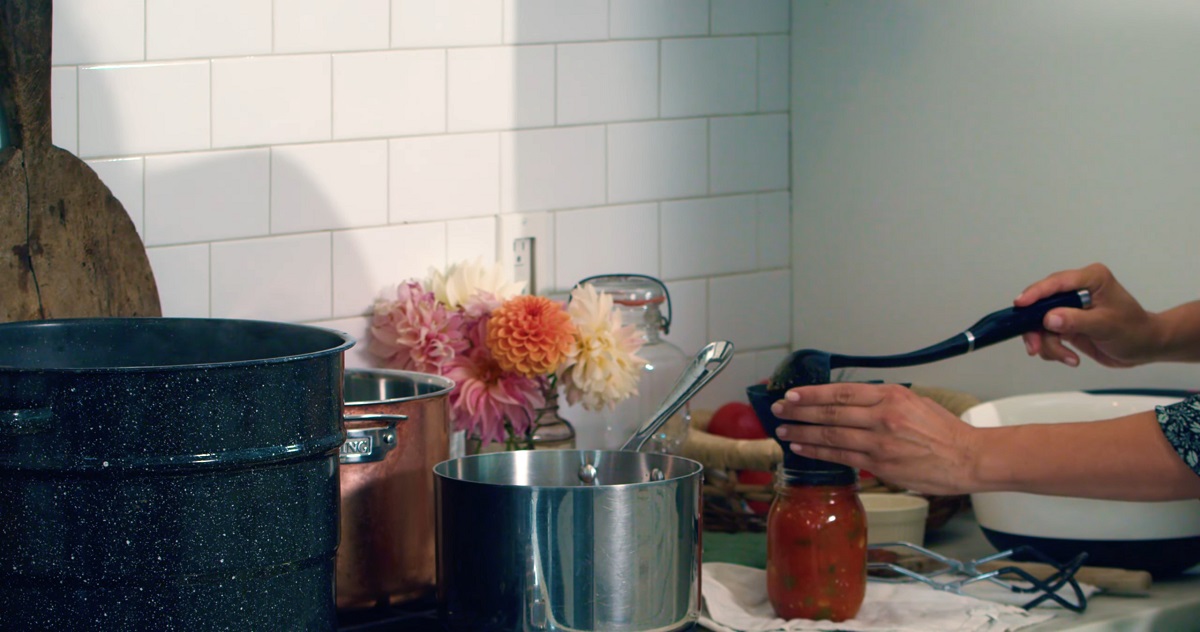
Leave the Right Amount of Headspace
When filling your sterilized jars, it’s important to leave about ½ inch of headspace between the top of the salsa and the rim of the jar. This space allows for expansion during the canning process and prevents the salsa from spilling out during processing.
Overfilling jars can interfere with the sealing process, while underfilling may leave too much air, allowing spoilage to occur.
Remove Air Bubbles
After filling each jar, use a non-metallic utensil, like a plastic knife or spatula, to remove any trapped air bubbles. Gently slide the utensil around the inside edges of the jar, tapping the jar to release any air.
Air bubbles can cause the salsa to spoil faster, so it’s essential to get rid of them for a proper seal.
Clean the Rims Before Sealing
Wipe the rims of the jars with a clean, damp cloth to remove any salsa residue. This is crucial for creating a tight seal, as any debris on the rim can prevent the lid from sealing properly. Pay close attention to the edges and make sure they are free from any food particles or liquid.
Once the rims are clean, place the sterilized lids on the jars. Screw on the metal bands just until they are fingertip-tight. Don’t over-tighten, as this can interfere with the sealing process.
5. Process Jars

Processing the jars is a critical step in preserving your salsa. The heat from the water bath kills any remaining bacteria and ensures the jars are sealed tightly.
It also helps the salsa reach the right temperature for long-term storage. Here’s how to properly process your jars:
Submerge Jars in Boiling Water
After filling and sealing your jars, it’s time to process them. Place the jars in a large canning pot or water bath canner. Ensure the jars are fully submerged, with about 1-2 inches of water covering the tops of the jars. If needed, add more water to ensure they are covered. Bring the water to a gentle boil.
Process for the Right Time
Process pint-sized jars for around 15-20 minutes, adjusting for your altitude if necessary. Higher altitudes may require a longer processing time to ensure the salsa is properly heated.
You can use a timer to make sure the jars stay in the water bath long enough to fully sterilize and seal. If you’re processing quart-sized jars, you may need to extend the time to about 25 minutes.
Maintain a Gentle Boil
It’s important to maintain a gentle boil throughout the processing time. A rolling boil can cause jars to jostle against each other, which could break them.
Ensure the water is boiling steadily but not too aggressively. If the water level drops during the process, add more boiling water to keep the jars submerged.
6. Cool and Store
Proper cooling and storage are vital to preserving your salsa’s flavor and safety. Once the jars have been processed, they need time to cool and be stored in the right conditions. Follow these steps to ensure your salsa remains fresh:
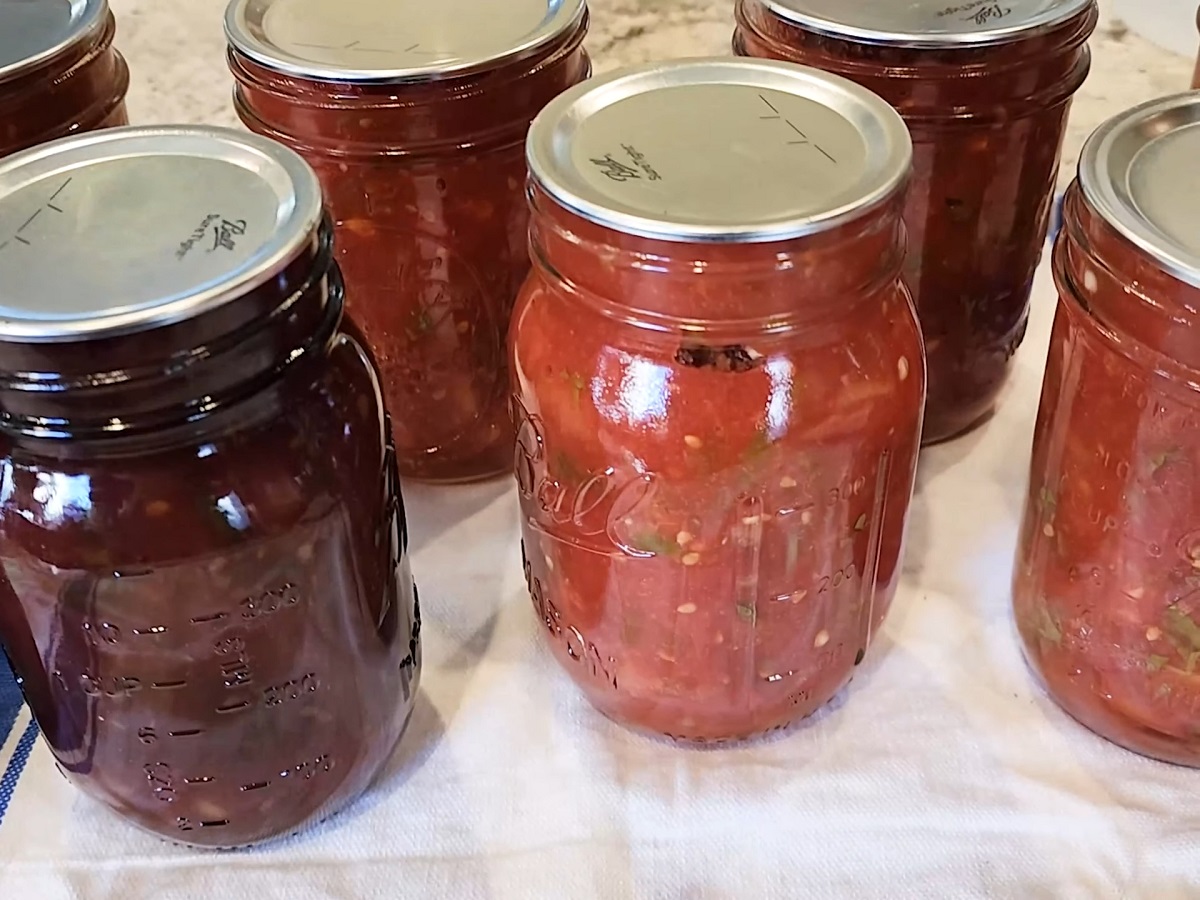
Let Jars Cool Completely
Allow the jars to cool undisturbed at room temperature for 12 to 24 hours. As the jars cool, the lids will form a tight seal, ensuring the salsa stays fresh. Do not move or touch the jars during this time, as it can interfere with the sealing process.
The cooling time is crucial for ensuring the salsa reaches the proper sealed state for long-term storage.
Check the Seal
Once the jars are cool, check each lid to ensure a proper seal. Press the center of the lid with your finger; it should not pop up and down.
If the lid flexes, it means the jar did not seal properly, and you should refrigerate it and consume it within a few days. For sealed jars, you’re good to go!
Store in a Cool, Dark Place
Store the sealed jars in a cool, dark place, such as a pantry or cupboard. The ideal storage temperature for canned salsa is between 50°F and 70°F.
Avoid storing jars in areas with extreme temperatures or in direct sunlight, as heat and light can degrade the salsa over time. Proper storage will help keep your salsa fresh for several months.
Label and Date
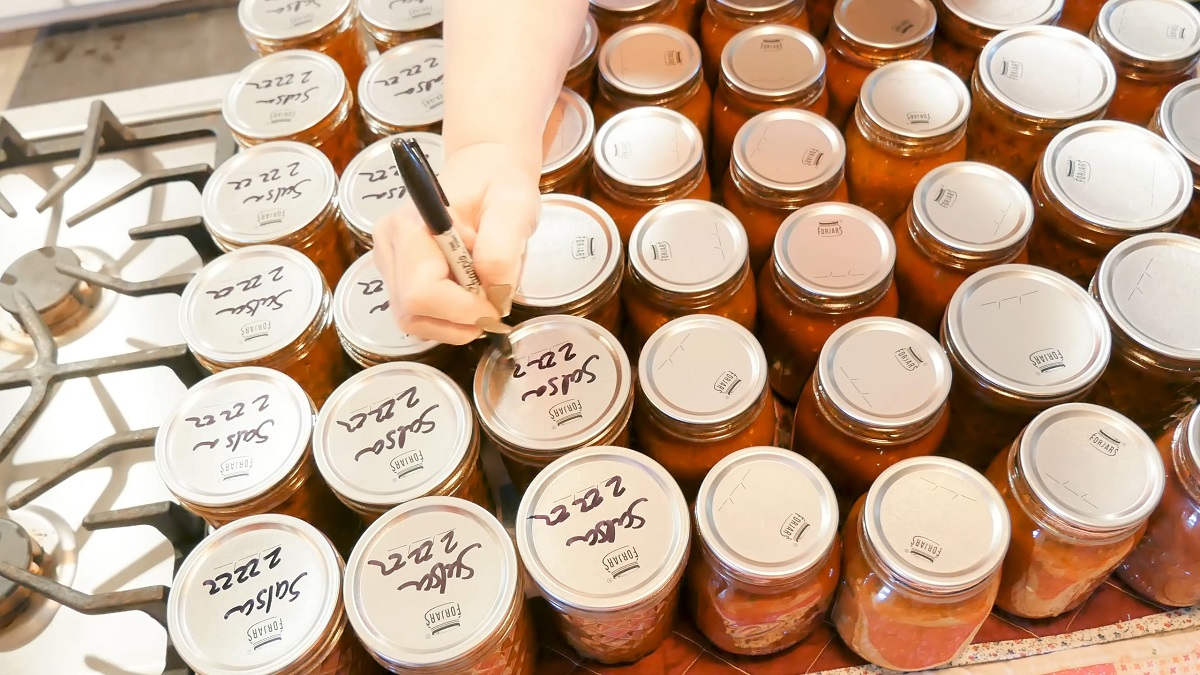
To keep track of how long your salsa has been stored, it’s helpful to label each jar with the date of canning. This allows you to rotate jars and use the older ones first.
Canned salsa typically lasts up to a year when stored correctly, but always check the jar for signs of spoilage before opening.
FAQs
How can I adjust the spice level of my salsa?
To adjust the spice level of your salsa, use more or fewer hot peppers depending on your preference.
For a mild salsa, remove the seeds and membranes from the peppers, as they contain most of the heat. If you want a spicier salsa, keep the seeds and add more peppers or hot sauce.
Can I use frozen tomatoes for salsa?
While fresh tomatoes are preferred for making salsa, you can use frozen tomatoes if fresh ones are unavailable.
However, freezing changes the texture of the tomatoes, making the salsa more watery. To prevent this, drain the excess liquid from thawed tomatoes before adding them to your mixture.
Do I need to add sugar to my salsa?
Sugar is not necessary in salsa, but it can help balance out acidity if the salsa tastes too tangy. If you prefer a sweeter salsa, add a small amount of sugar and adjust to taste.
This is a personal preference and can be omitted if you like your salsa more savory.
Can I can salsa without vinegar?
Vinegar is essential in canning salsa to ensure the proper acidity, which prevents bacterial growth. Without vinegar, the salsa could spoil quickly or even become unsafe to eat.
For safety and long-term preservation, it is not recommended to can salsa without vinegar or another acidic ingredient.
How do I know if my salsa has spoiled?
To check if salsa has spoiled, look for signs like mold growth, unusual discoloration, or a bad smell. If the jar has not sealed properly, you may also notice bubbling or the lid being loose.
Always check the salsa before consuming it and discard any jars that show signs of spoilage.
Last Words
By following these simple steps, you can enjoy homemade salsa fresh for months without worrying about spoilage.
With proper preparation, sterilization, and storage, you’ll have jars of delicious salsa ready whenever you need them.